Table of Contents
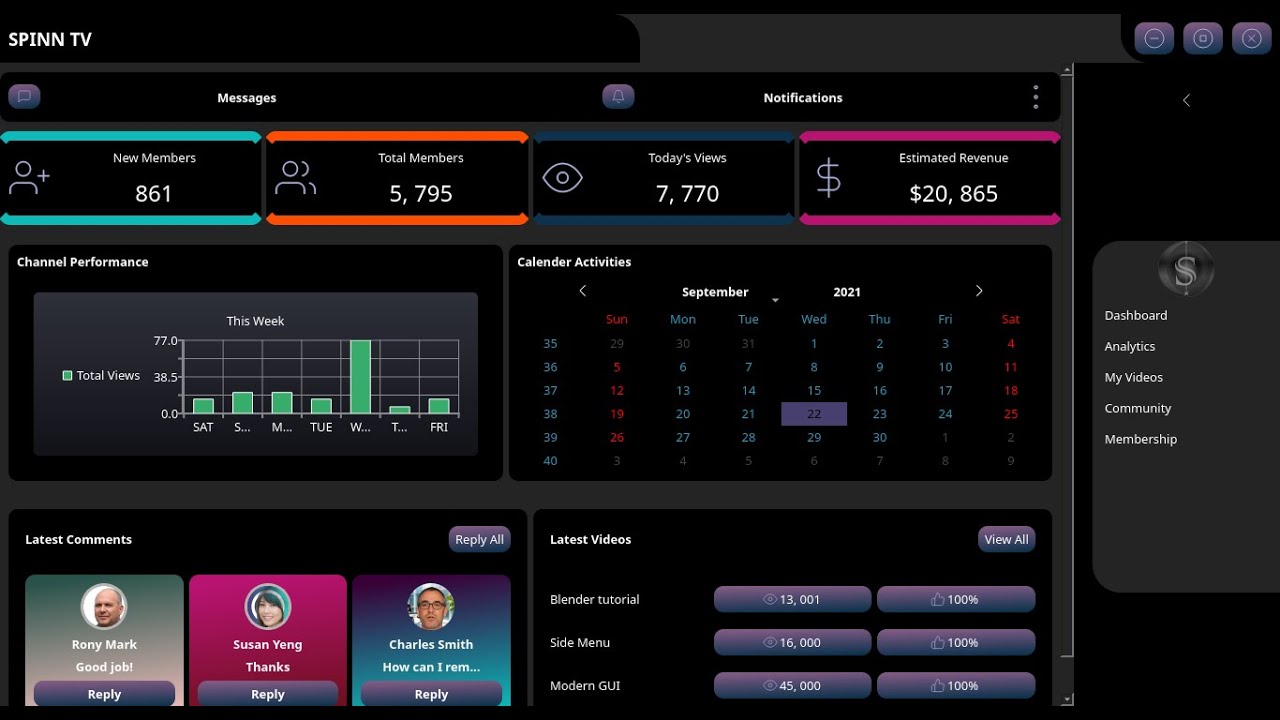
- Python, Qt Creator, PySide2 and Qt Quick [ MODERN GUI / Study ] - YouTube
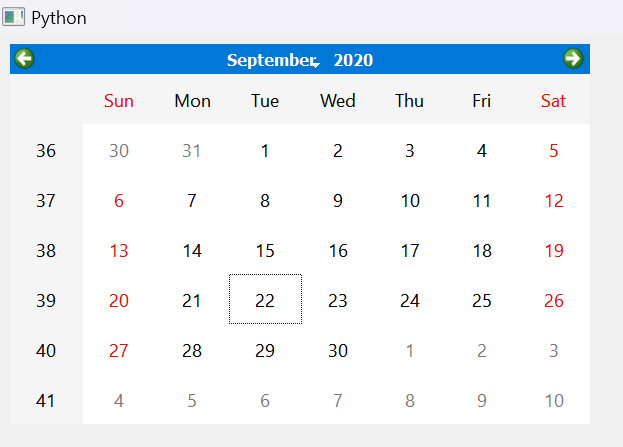
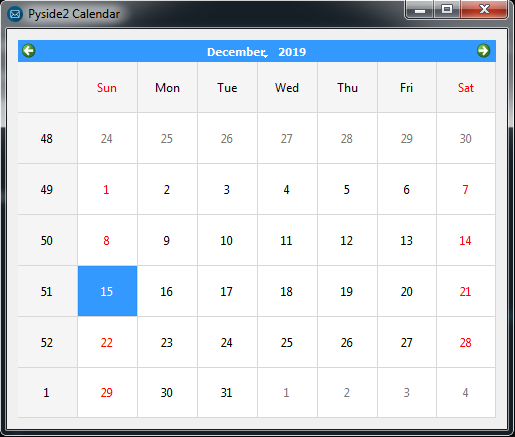
- Python Make GUI Calendar in Pyside2 - Codeloop
- Python Gui Animated Side Menu Pyside Pyqt Moder Ui In - vrogue.co
- GUI Calendar using PyQt5 in Python - TAE
- Python Make GUI Calendar in Pyside2 - Codeloop
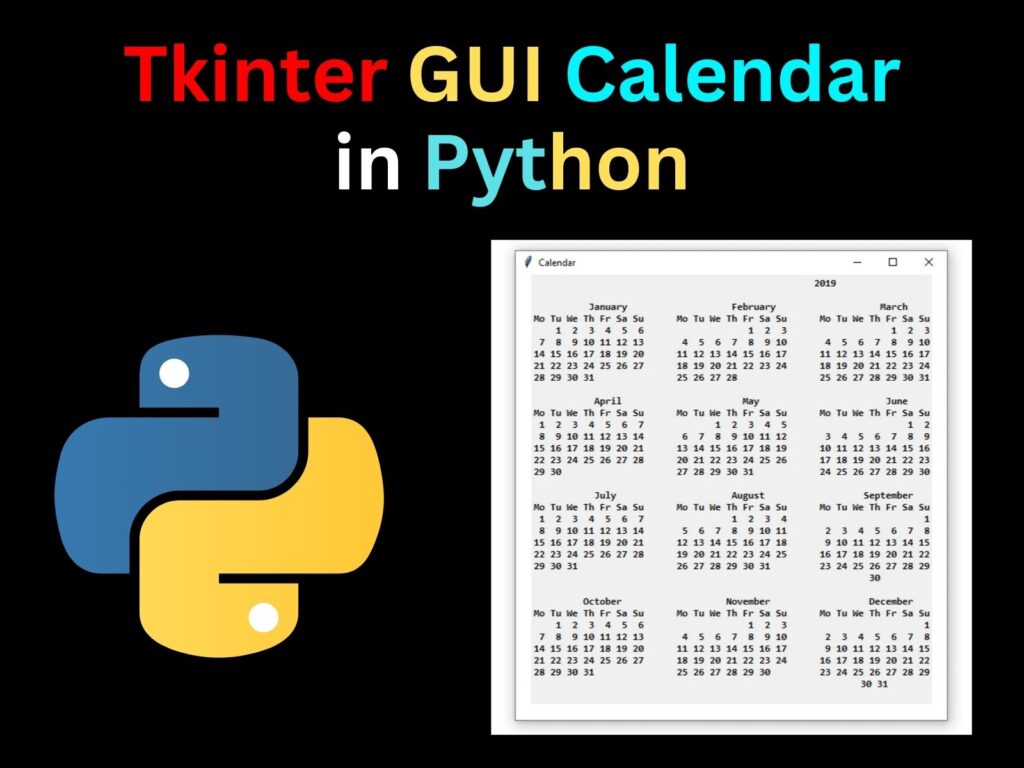
- Gui calendar using tkinter in python – Artofit
- Tkinter GUI Calendar In Python - CopyAssignment
- Python Gui How To Create Aboutbox In Pyside2 Codeloop - vrogue.co
- How To Create Gui Calendar Using Python Python Tkinter Gui Project - Vrogue
- Pyside2 GUI | Making Center The Window | Qt For Python | Python GUI ...
Are you interested in creating a graphical user interface (GUI) for your Python application? Look no further than Python Qt GUI. Qt is a popular cross-platform application development framework that provides a comprehensive set of libraries and tools for building GUI applications. In this article, we will walk you through the process of creating a new project using the Custom widget in Python Qt GUI, as demonstrated in a YouTube tutorial.
![Python, Qt Creator, PySide2 and Qt Quick [ MODERN GUI / Study ] - YouTube](https://i.ytimg.com/vi/j3ygJY8Ndc4/maxresdefault.jpg)
Introduction to Python Qt GUI

Python Qt GUI is a set of Python bindings for the Qt framework, which allows developers to create GUI applications using the Python programming language. Qt provides a wide range of tools and libraries for building GUI applications, including widgets, layouts, and graphics views. With Python Qt GUI, you can create complex GUI applications with ease, including desktop applications, mobile apps, and web applications.
Creating a New Project

To create a new project using the Custom widget in Python Qt GUI, follow these steps:
- First, install the Qt framework and the Python Qt GUI bindings using pip:
pip install pyqt5 - Next, create a new Python file for your project and import the necessary modules:
from PyQt5.QtWidgets import QApplication, QWidget - Then, create a new instance of the QApplication class and set the application name:
app = QApplication([])andapp.setApplicationName("My GUI App") - After that, create a new instance of the QWidget class, which will serve as the main window for your application:
window = QWidget() - Finally, show the main window and start the application event loop:
window.show()andapp.exec_()

Using the Custom Widget
The Custom widget in Python Qt GUI allows you to create custom GUI components with ease. To use the Custom widget, follow these steps:
- First, create a new class that inherits from the QWidget class:
class MyWidget(QWidget): - Then, override the paintEvent method to define the custom widget's appearance:
def paintEvent(self, event): - Next, use the QPainter class to draw the custom widget's contents:
painter = QPainter(self) - Finally, use the QPainter class to draw shapes, text, and images on the custom widget:
painter.drawRect(10, 10, 100, 100)
In this article, we have shown you how to create a new project using the Custom widget in Python Qt GUI. With Python Qt GUI, you can create complex GUI applications with ease, including desktop applications, mobile apps, and web applications. Whether you are a beginner or an experienced developer, Python Qt GUI provides a comprehensive set of tools and libraries for building GUI applications. So why not give it a try? Create a new project today and start building your own GUI applications with Python Qt GUI.
Watch the YouTube tutorial for a step-by-step guide on creating a new project using the Custom widget in Python Qt GUI. With this tutorial, you will learn how to create a custom widget, override the paintEvent method, and use the QPainter class to draw shapes, text, and images on the custom widget.